Warbound Tactics

Vaeliththe Thornmother

An ancient tree-spirit whose roots wrapped around a shard. Arena: The Sunken Grove.

HP
46,000
Armor
30
MR
50
Range
2
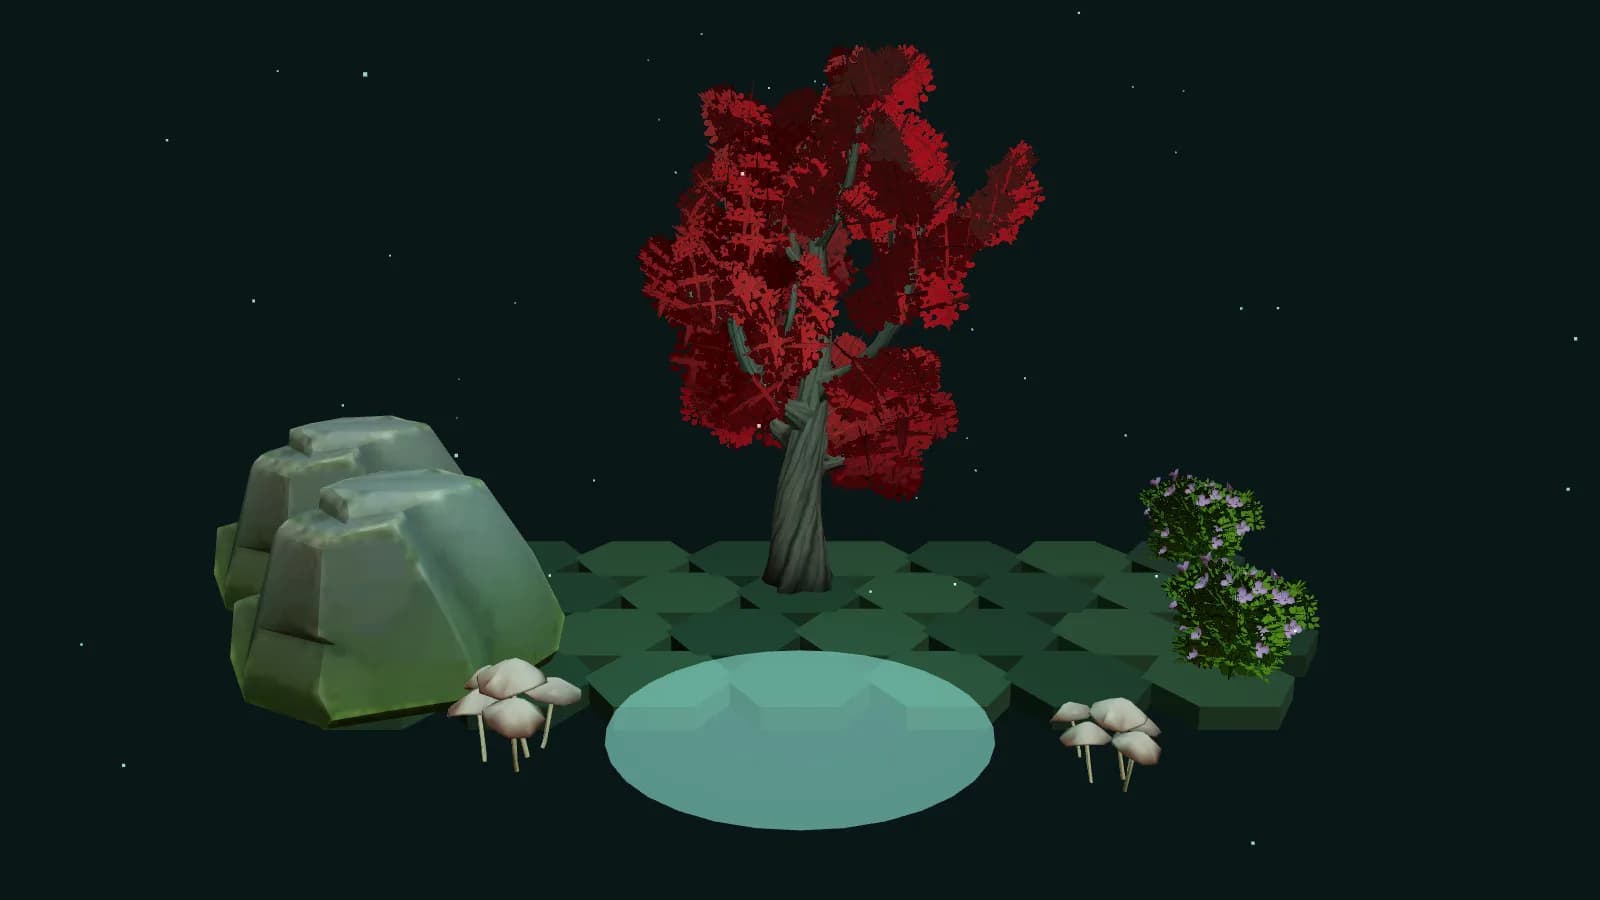
Vaelith the Thornmother in The Sunken Grove, rendered from a stand-in 3D model

Vaelith teaches you to control adds and to stop healing. She heals from her Saplings and from Bloom. If you deal with both, her health bar only goes one way.

Lesson. Controlling adds and stopping healing.

Weakness. Anti-healing. Hollowed boards beat her more easily than any other.

Drops. Phase 2: pick 1 of 2 completed items.

How much damage gets through

Physical
76.9% (armor 30)
Magic
66.7% (MR 50)

Armor and MR each cut incoming damage by value / (100 + value). Lower numbers are better for you, so physical damage goes further against this boss.

It hits for 100 magic damage at 1 attack per second from range 2, and targets the highest Threat on the board.

Mechanics and how to answer them

each boss round, at 5 s

Saplings

4 Saplings (400 HP, 0 armor, move 1 hex/s) spawn at the arena edges. Each that reaches her heals her 4% max HP.

How to answer it

  • Every combat round, four Saplings spawn at the edges at the 5 second mark. Each one that reaches her heals her, so every sapling you kill is a heal she does not get.
  • Area damage is the answer. Lyra's Blizzard and Thrakk's Multi-Shot both hit several targets, and Thaelis in Bear Form cleaves the adds next to the boss.
  • Put some damage on the flanks. Saplings walk one hex per second, so you have time if you are ready for them.
every 10 s

Strangling Roots

Roots the 2 back-row units farthest from her for 2 s.

How to answer it

  • Every 10 s she roots the two back-row units farthest from her for two seconds. A rooted carry cannot cast or move.
  • Spread your carries so the two furthest units are not both important. Do not put Lyra and Nyxara at the very back together.
  • Unbreakable Will is named in the design notes as an answer for key units.
at 60% HPPhase change

Bloom (phase 2)

Regenerates 2% max HP per second unless Wounded.

How to answer it

  • At 60% HP she regenerates 2% of her max HP every second unless she has Wound on her. That is a lot, so Wound is not optional.
  • Silas's Vanish and Ambush applies Wound for 5 s. Searing Censer applies Wound for 4 s whenever the carrier's ability deals damage.
  • Hollowed boards beat her more easily than any other because of how much Wound they can keep up.

A build that answers it

Wound on a timer, area damage for the saplings, and spread-out carries. Silas, Morwen and a Searing Censer carry the plan.

Want it placed on a board? See the beginner builds, or put your own together in the team planner.

Common mistakes

  • Skipping Wound until phase 2 and wondering why the health bar goes up.
  • Letting saplings reach her because every damage dealer is aimed at the boss.
  • Putting all your carries in one back-row cluster, where two Roots remove most of your damage.

The numbers by Shard Tier

Boss health and damage by tier
TierHP soloHP, 4 playersAuto hitEnrage after round
146,000156,4001008
252,900179,8601088
359,800203,3201168
573,600250,2401328
680,500273,7001407
10108,100367,5401727

HP = base x (1 + 0.15 x (tier - 1)) x (1 + 0.8 x (players - 1)). Damage = base x (1 + 0.08 x (tier - 1)). Enrage comes 1 round earlier from Tier 6.