Warbound Tactics

Grumholdthe Slagbound

A forge-golem fused with a shard of molten metal. Arena: The Forge Floor.

HP
50,000
Armor
60
MR
30
Range
2
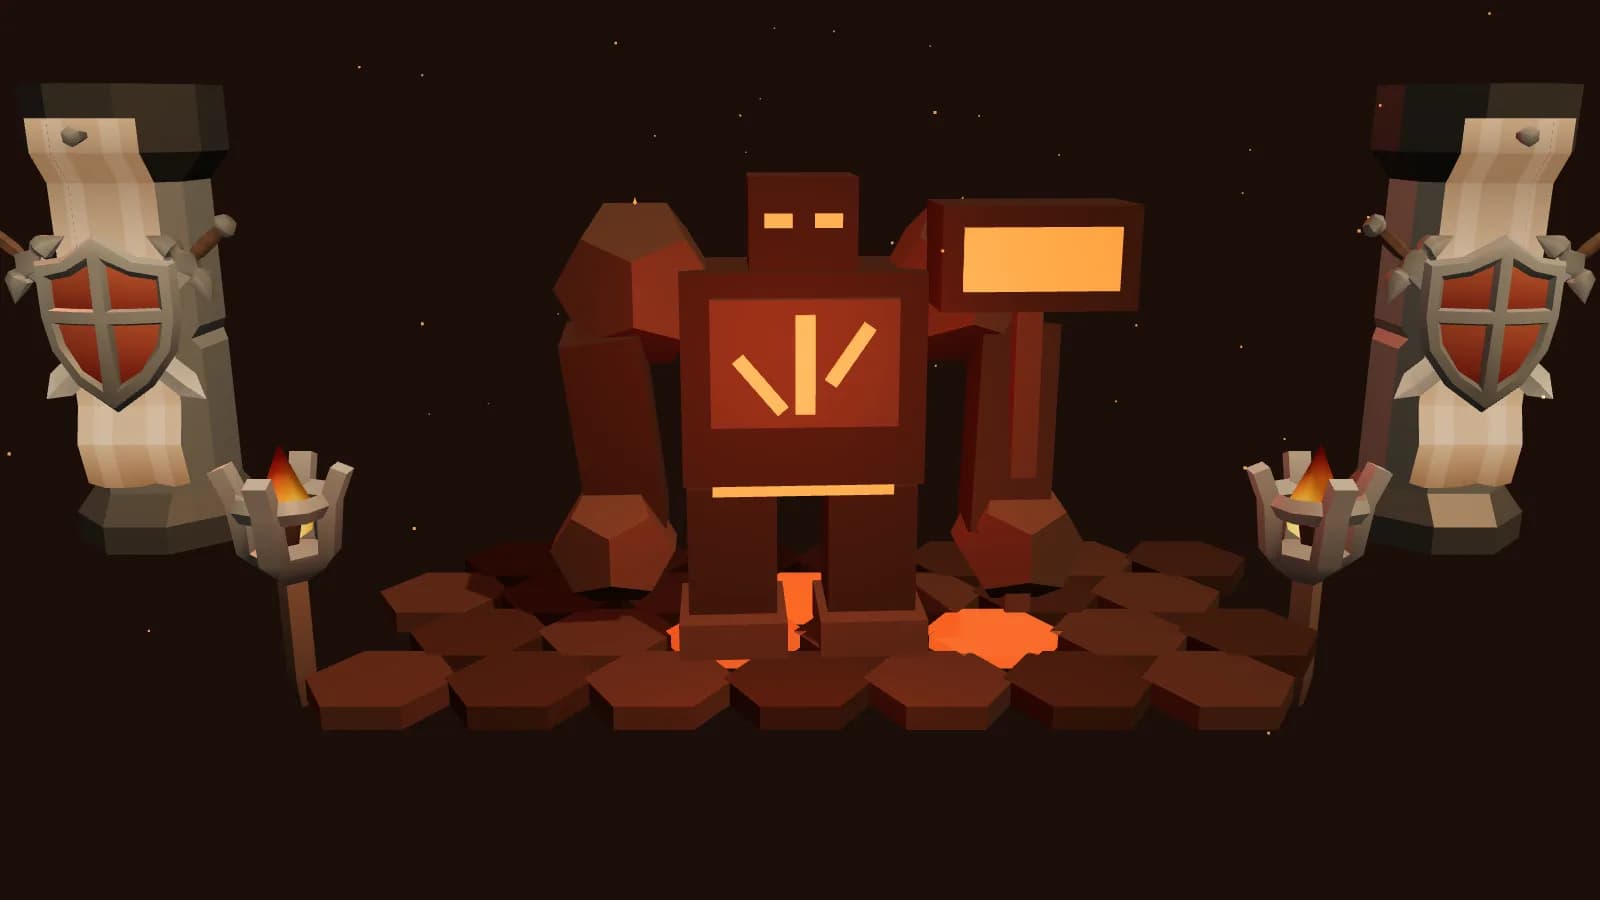
Grumhold the Slagbound in The Forge Floor, rendered from a stand-in 3D model

Grumhold teaches two things: how to swap tanks, and how to spread out. He hits one unit hard, over and over, and punishes anyone who stands on the floor.

Lesson. Tank swaps and spreading out.

Weakness. Armor shred and burst damage.

Drops. Phase 2: pick 1 of 2 completed items.

How much damage gets through

Physical
62.5% (armor 60)
Magic
76.9% (MR 30)
Physical in phase 2
76.9% (armor 30)

Armor and MR each cut incoming damage by value / (100 + value). Lower numbers are better for you, so magic damage goes further against this boss.

It hits for 150 physical damage at 1 attack per second from range 2, and targets the highest Threat on the board.

Mechanics and how to answer them

every 6 s

Hammerfall

600 physical to highest-threat target; applies Molten Armor (+20% damage taken per stack, 10 s, stacks to 5).

How to answer it

  • Bring a second tank. Molten Armor makes the target take more damage with every stack, so a single tank will not last the full ten seconds of stacks.
  • Shield Wall taunts the boss for 1.5 s and adds 10 Stagger. Use it to hand the target to your other tank.
  • Armor shrinks physical hits: the bigger your armor, the less of the 600 you take. Bastion Plate and Ironhold are the easy sources.
each boss round

Slag Pools

3 hexes at Tier 1 (+1 per 3 tiers, +1 per extra player) glow for 2 s, then become slag: 8% max HP/s to units standing on it.

How to answer it

  • The Intent shows which hexes will glow before the round starts. Do not place units there.
  • Lyra's Blizzard cools slag inside its area back into safe ground, which turns a hazard into a way to reclaim the board.
  • Spread your back-row units. Each extra player adds slag hexes on every board.
at 50% HPPhase change

Overheat (phase 2)

Armor 60 → 30. Every 3 s, 80 magic damage to every enemy unit.

How to answer it

  • In phase 2 his armor drops by half, so physical damage jumps in value. Save your burst for here.
  • Every unit takes 80 magic every 3 s, so magic resist helps everyone. Mystic gives the team +25 MR, and Thick Skulls adds more.
  • Healing matters most in this phase. Keep Vashka alive and in range.

A build that answers it

A Guardian pair in front, a ranged carry behind them with Hunter's Mark, one healer, and area damage that can cool slag. Ironhold and Ashblood are the cleanest fit.

Want it placed on a board? See the beginner builds, or put your own together in the team planner.

Common mistakes

  • Placing a carry in the front row. Grumhold attacks the highest-threat unit anywhere on the board, and damage dealers make threat quickly.
  • Running one tank and no taunt. Three stacks of Molten Armor is the point where a single tank is in trouble.
  • Ignoring the Intent. The slag hexes are always shown first.

Example: Brannoc with the Ironhold bonus has 70 armor, so a 600 Hammerfall deals about 353 to him, before shields and the Molten Armor stacks.

The numbers by Shard Tier

Boss health and damage by tier
TierHP soloHP, 4 playersAuto hitEnrage after round
150,000170,0001508
257,500195,5001628
365,000221,0001748
580,000272,0001988
687,500297,5002107
10117,500399,5002587

HP = base x (1 + 0.15 x (tier - 1)) x (1 + 0.8 x (players - 1)). Damage = base x (1 + 0.08 x (tier - 1)). Enrage comes 1 round earlier from Tier 6.